
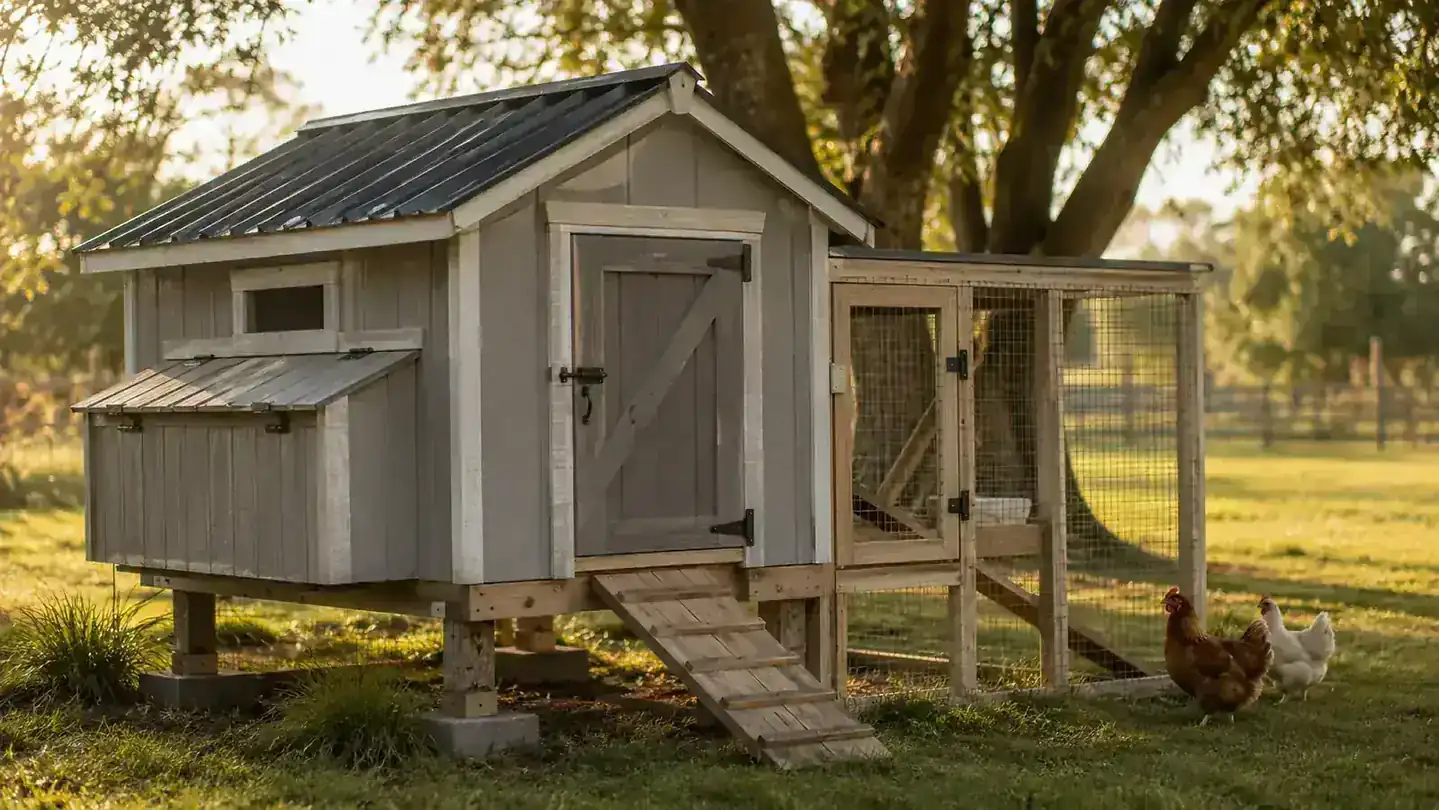
The coop is built and standing square in the yard, and now you're standing in front of it holding a bag of shavings with no idea where to put them. The assembly sheet told you exactly which screw goes in which hole, but it never said a word about where to set the house, what to put on the floor, or why you should test a latch before a single bird arrives. That was me in the spring of 2024, working out of the box with a grey Aivituvin AIR45 and six barred rock pullets due in ten days.
Here's what nobody warns a first-timer about: the building is the easy half. The set-up is where you earn your first year. Do it in the right order and the flock stays dry, warm, and safe from the things that circle at night. Skip a step and you'll be re-bedding in February with wet shavings, or learning more than you ever wanted to know about what a raccoon can open. I made plenty of those mistakes so you don't have to.
The starter coop we finished in a Saturday
We set up the Aivituvin AIR45, a grey wooden house with two locking nesting boxes, in time for six pullets, and it's the coop I'd buy again for a first flock. It sits raised off the ground, the wire over the windows is real, and everything that opens locks. If you're starting from a box of lumber, this is the house worth setting up first.
Amazon Check Today's Price on Amazon →Step 1: Pick the spot before you pick up a screwdriver
Walk the yard in the rain, not in the sunshine. The corner that looks perfect in May is the low spot where water stands in March, and a coop that sits in water rots from the floor up. I found this out the hard way with our first house, which sat in the shadow of the garden shed, meaning it also sat in mud every time the runoff came through. We moved the Aivituvin before the pullets arrived, and I still check for standing water every spring before anything gets placed anywhere.
You want high, level ground with the door facing south so the winter sun hits it, plus a little shade from the worst of July. Keep the coop close enough to check twice a day, but not kissing the garden fence, because six hens will scratch out every seedling you just set. And leave room for a run, because a coop without a run is a cage. Give the birds run space before you give them coop space, and you'll wonder what everyone complains about.
One more thing I got wrong the first time: face the door toward your house, not toward the horizon. The girls' comings and goings are your early warning system for trouble, and if you can watch the coop from the kitchen window, you'll actually notice sooner when something is off. Ours sits so I can see it while I'm at the sink, and that one choice has caught more than one sick hen in the morning.
Step 2: Level it and get it off the dirt
Assembly of the Aivituvin is a two-person job and a full afternoon, so plan for that, not for the forty-minute claim on the box. The panels are pre-drilled and labeled, the wood is real and heavy, and the directions will get you there, but keep a stubby screwdriver handy for the corners. Ask someone to hold the walls while you drive the first screws, or the frame will fight you the whole way. We did it on sawhorses in the shade and carried the walls over as we went.
When it's up, set it on blocks or pavers, one under each corner, and level it corner to corner with a level on the floor. The AIR45 already sits raised on legs, and I added concrete blocks underneath anyway, because the ground heaves in a Missouri winter and nothing stays square by spring. A coop resting on bare grass rots on you, and the gap underneath is an open invitation for something to dig in. Re-tighten the roof screws after the first rain, once the wood has settled.
This is also the moment to seal the wood if your coop is bare timber. A coat of outdoor wood preservative on the legs and the lower panels is an afternoon of work that buys you years, and it's a lot cheaper than replacing a sagging floor board down the road. I seal ours every spring now, and it's the difference between a coop that looks new and one that looks like it was salvaged from a barn.
Set the ramp at an easy angle and keep it grippy. Ours came with a wooden ramp, and on wet mornings it could get slick, so I screwed a strip of hardware cloth across the face. The girls use it without drama now, and a ramp a hen will actually walk beats one she'd rather hop past, because an awkward ramp is how you end up with a hen sleeping on a chair in the run.
Step 3: Put the floor down in the right order
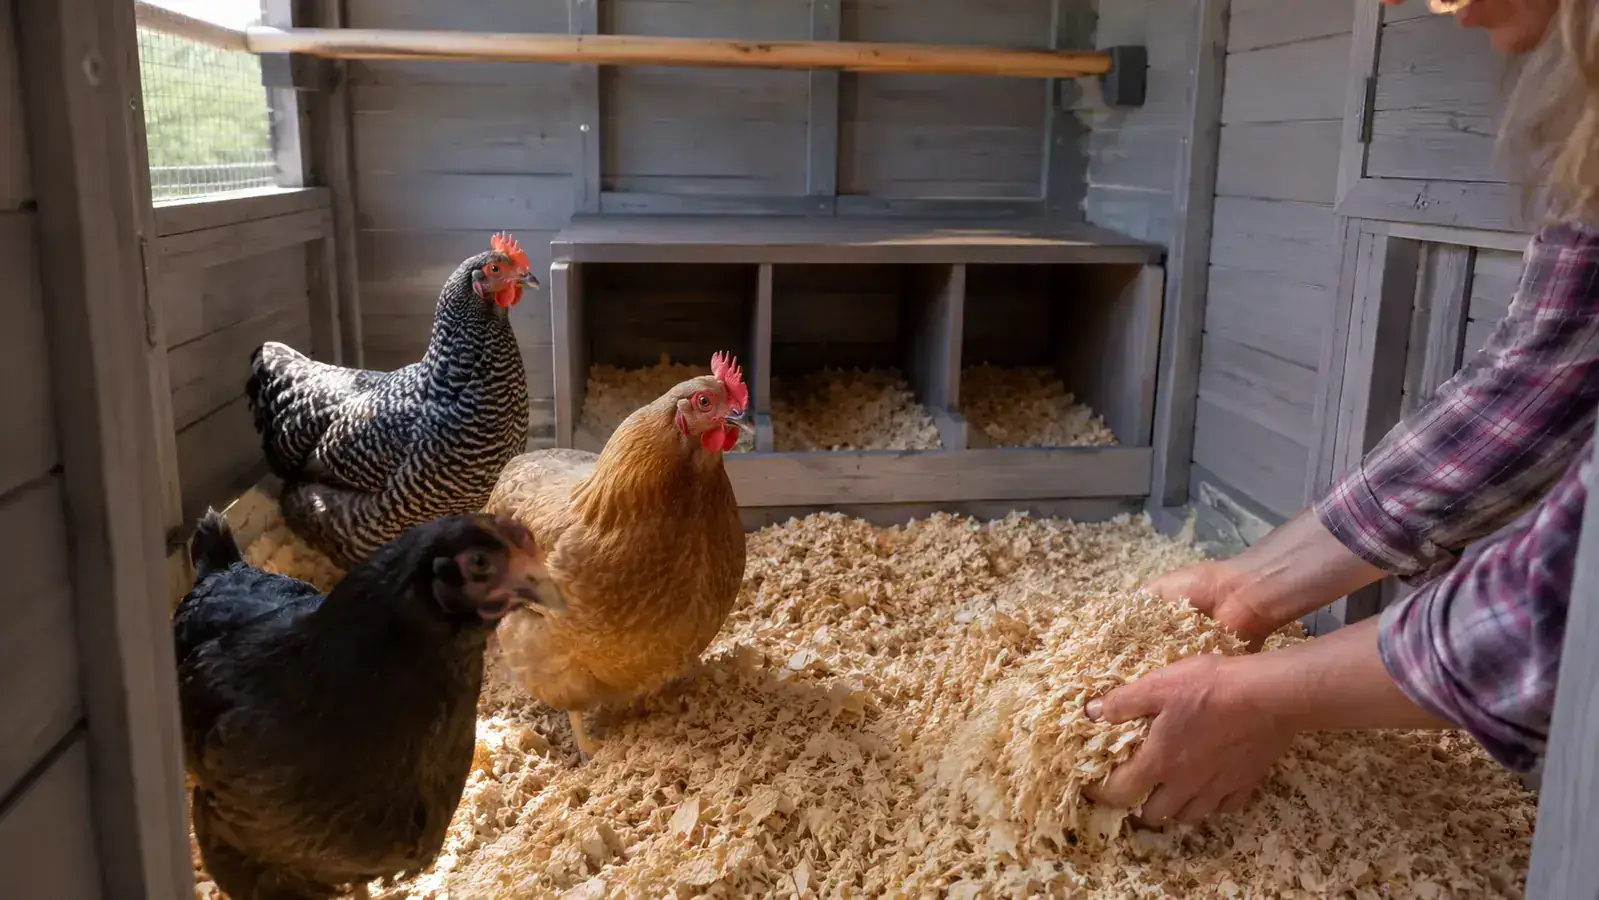
I put three inches of pine shavings across the floor and add a fresh scoop every few days as the girls scratch and do their business. That's the deep-litter method, and it's why we can go months between full cleanouts, especially in winter, when the bedding, the droppings, and the air in the coop all turn into compost instead of souring. The birds do the turning for you, which is the whole trick of it.
Skip the straw on the floor. Straw holds moisture and mats into something you'll hate shoveling. Pine shavings break down and stay fluffy, and they work fine in the nesting boxes too. Our hens decided they preferred straw in the boxes and I gave in, because a hen wins a bedding debate every single time, but the floor is shavings, always. Whatever you choose, it has to be dry, clean, and forgiving, because that's what your birds stand on all night.
And do the bedding before the birds ever arrive. A hen is a creature of habit, and if the space looks finished on day one, a lot of bad habits never start. Half the pecking-order squabbles I've seen trace back to a coop that didn't feel like home in the first week, because somebody was trying to sleep on a bare board floor.
Step 4: Set the roost and the boxes so they sleep high and lay low
Chickens want two things, and they want them at opposite ends of the house. They want to sleep as high as they can climb, and they want to lay in the lowest, dimmest, safest corner they can wedge into. So the roost bar goes up, and the boxes stay low and shaded. Ours roost on the bar the AIR45 came with and use one of the two nesting boxes, rarely both, which is completely normal until you've got three or four birds laying at once.
Plan eight to twelve inches of roost bar per bird, and more for heavy breeds, so nobody gets crowded off the perch on a cold night. The bar should be wide enough for the birds' feet to flatten out, and rough enough to grip. If you see them choosing to sleep on the floor, the roost is too high, too low, or too slippery, and a hen will take a drafty corner over a perch she can't trust.
One nesting box per three or four hens is plenty. Ours have lids that lock, which matters more than you'd think the first time you walk out at dusk and see fresh scratches on them. Keep the boxes dim and set them out of the main traffic so the flock's queen doesn't camp in the only one. I line mine with a hand of shavings, just enough that a newly laid egg won't roll and crack against the board.
Take the height of your smallest breed into account too. A bantam or a young pullet will not leap to a high roost the way a full-size hen will, and a bird that can't reach the perch comfortably will pick the floor and be miserable and cold. If every hen in the flock can walk up to the bar rather than fly, you've got the height right.
Step 5: Test every latch before a single bird arrives
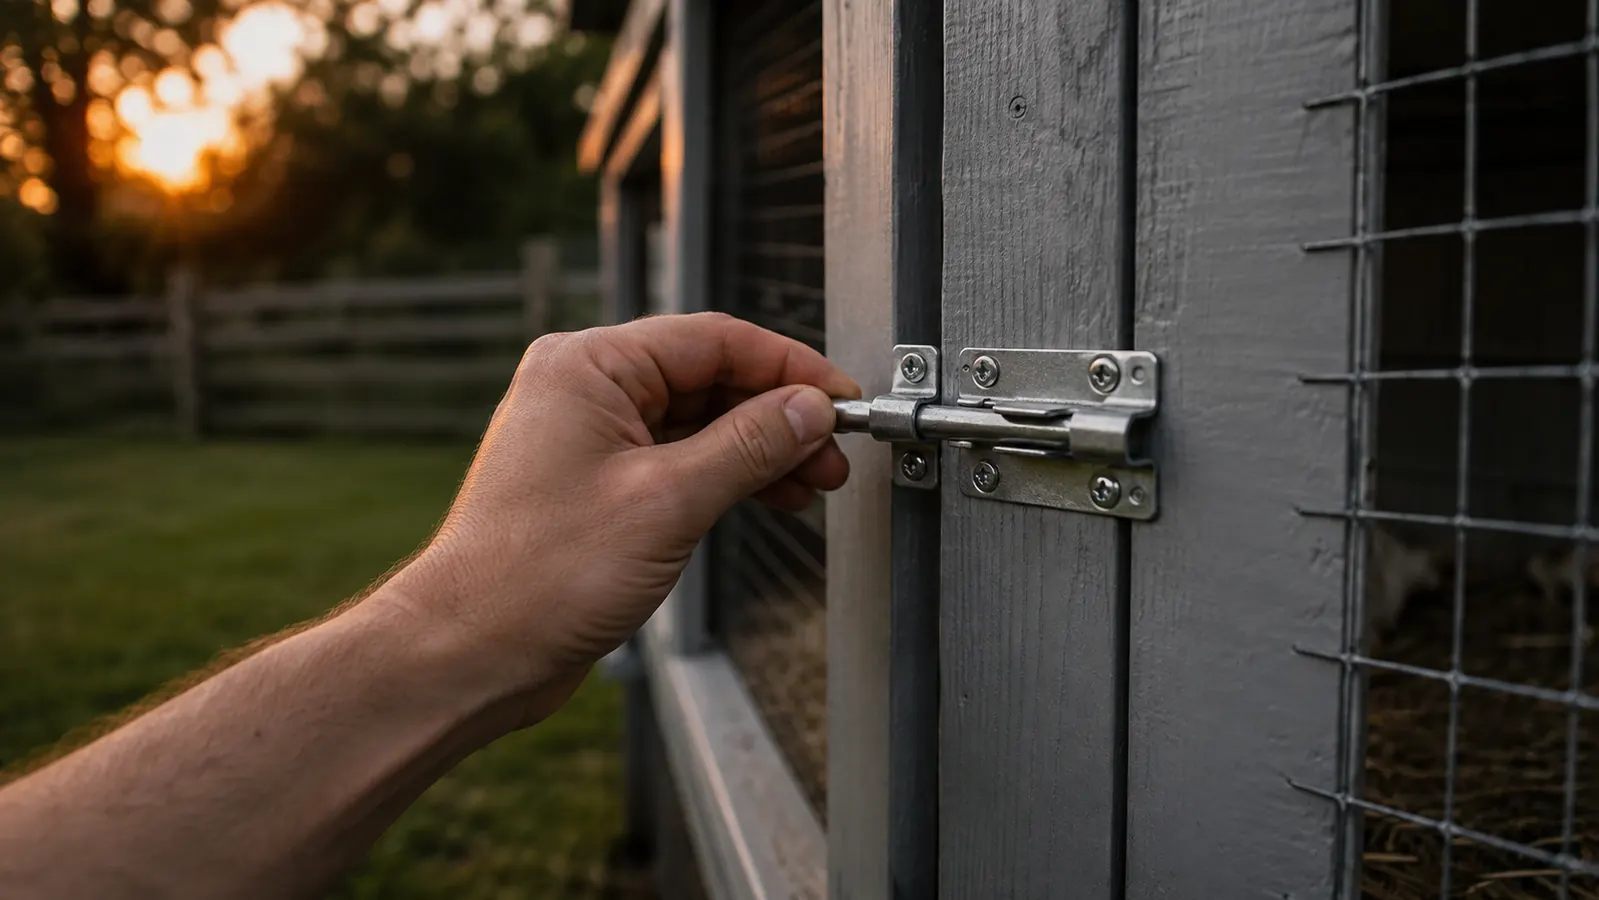
This is the step that saves you, and it's the one beginners skip because the coop looks finished. Raccoons are smarter than the average lock, and they have hands. They will reach through a gap and work a simple slide latch until it gives. Test every door, every window, every nesting box lid, and upgrade anything that opens with a thumb. A carabiner through a latch costs two dollars and has stopped more midnight raids at our place than I can count.
I do a walk-around after dark with a flashlight, checking the wire over the vents and the corners where the panels meet. The AIR45 comes with wire over its windows and vents, but our first spring inspection still turned up a loose corner that something had been working on. The same nightly habit catches rot before it eats a post, and a sagging roof screw before it becomes a leak. Twenty minutes a week, and the coop gives you years.
And predators follow food, so manage the food. Keep the feeder somewhere it can't be tipped over, don't leave kitchen scraps sitting in the run overnight, and close the door at dusk. A clean coop is a quiet coop, and a quiet coop is the whole point of doing this at all.
What Else Helps
A few things we added after the first month that I wish we'd done on day one. A second water source for summer, because six hens can drain a gallon in a hot afternoon and a dirty waterer is a vet bill waiting on legs. A dust bath spot out of the rain, because a dusty hen is a mite-free hen. And an automatic coop door once I got tired of being home at dusk every single night. That door is its own whole guide, and it was worth every bit of it.
Start with six birds, not a dozen. Beginner mistakes are cheaper at six. We learned on the AIR45 with six pullets, and when the flock outgrew it, we added a second house rather than cramming the first. I kept a full year of notes on this coop, rain, snow, and a determined raccoon included, in my long-term review. If you're still deciding between a real wooden house and a tarp-and-pallets setup, go read why a proper coop wins before you spend a weekend building something that won't survive winter.
And read up on ventilation while the birds are young, because a coop that's too tight is how you get frostbitten combs in February and stale, ammonia-heavy air in July. Keep an opening up high for warm months and a snug sleeping area for the cold ones, and you've given the flock most of a healthy year before they ever lay an egg. That was the last thing I learned, and it's the one I'd pass along first to anyone starting fresh.
We caught a raccoon testing the nesting box lid the same week the coop went up, before a single bird set foot inside. That one hour of testing latches at dusk is the only reason that story ended with nothing missing.
Set the house up right and the first year gets a whole lot easier
The Aivituvin AIR45 is still the coop I'd put together for a first flock, two springs and a lot of weather later. If you're standing in the yard with a box of lumber and a bag of shavings, this is the house to open this weekend.
Amazon Check Today's Price on Amazon →