
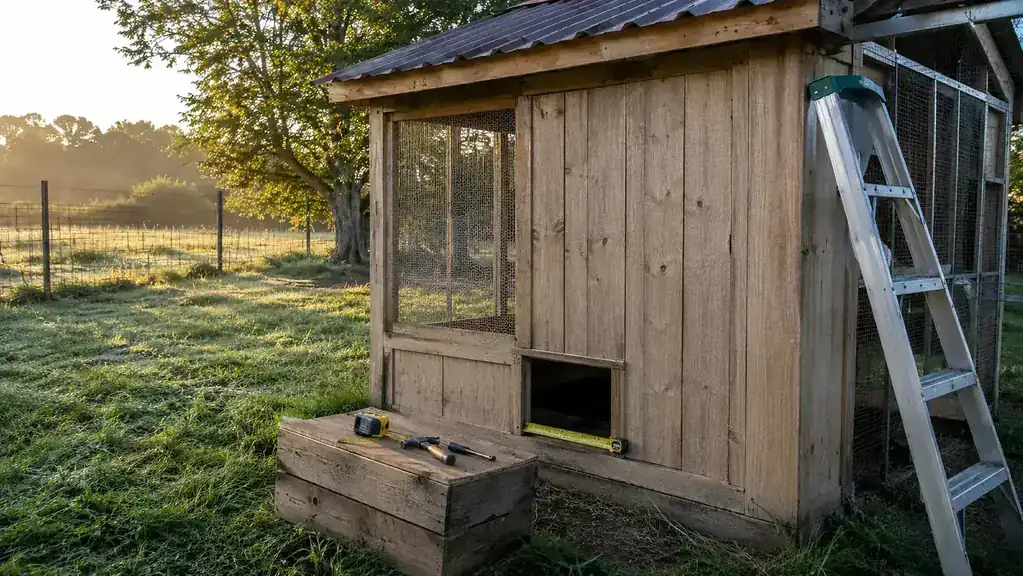
For years I was the one who walked out at dusk and slid the pop hole shut, rain or shine. It worked right up until the nights it didn't: a late calving emergency across the pasture, a dinner that ran long, one dark evening when I simply forgot and found a raccoon paw print on the shavings come morning. No hen lost that time, but I decided I was done being the weakest link in my own flock's defense. So I bought the RUN-CHICKEN T50 automatic door, set aside a Saturday, and put it in. If you're standing there with a new door in the box wondering where to start, here's the exact way I did it, step by step.
The whole job took me one relaxed afternoon, maybe three hours with a coffee break, and I am not a fussy carpenter. You need a drill, a jigsaw or keyhole saw, a tape measure, a level, a pencil, and a screwdriver. The RUN-CHICKEN T50 comes with its own mounting template and the hardware you need. Before you cut anything, set the box on the ground, read the manual once all the way through, and lay out every part so you know what you're working with. Trust me on this one: that ten minutes saves you a headache later.
Start With a Door That's Built for the Job
I installed the RUN-CHICKEN T50 because it's battery powered, weatherproof aluminum, and simple enough that a weekend, a drill, and a jigsaw are all you need. It's the door I'd hand a first-timer who wants it done right the first time.
Amazon Check Today's Price on Amazon →Step 1: Pick the Spot and the Opening Size
The door mounts over your existing pop hole, so step one is deciding where that opening sits and how big it needs to be. The RUN-CHICKEN T50 replaces the hole itself with its own track and sliding door, so you'll cut or adjust your pop hole to fit the door's opening dimensions. Measure the height and width of the door's metal plate first, then mark that opening on the coop wall, centered on where your chickens already come and go.
Two things matter more than the exact inches. First, the opening needs a clear, unobstructed path for the door to slide, which usually means cutting into the wall just above floor level so the plate can drop down into a track. Second, and this is the part I wish someone had told me on day one, put the sensor and control box somewhere it can see actual daylight. The T50's light-sensor mode reads ambient light to decide when to open and close. If you mount the control box in a dark, covered corner, it will read false dusk and close early. Peek it out toward the sky or a bright part of the run.
Before you cut, double check the left or right opening setting that matters for the motor direction. The manual walks you through picking the side and which way the door swings, and getting that right the first time is the difference between a door that slides smoothly and one that jams against its own frame. Read that page twice, then mark your center line.
Step 2: Cut the Opening Clean and Square
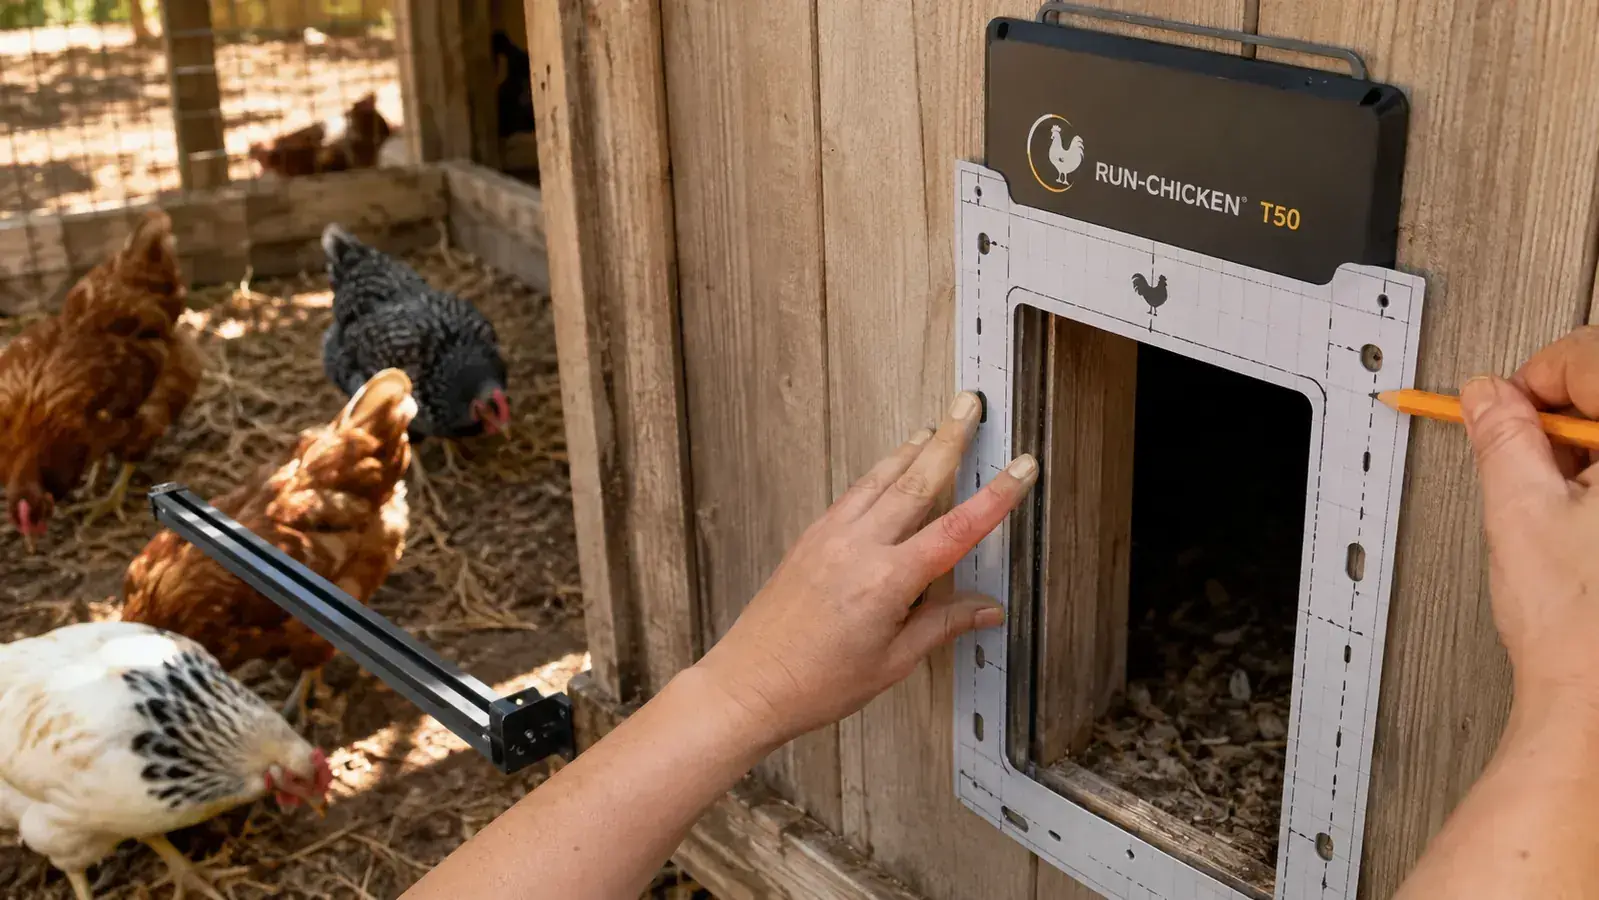
Now the fun part: making the hole. Lay the mounting template exactly where you want the door, level it, and trace the outline with a pencil. Then drill a starter hole in a corner of the traced opening and work your way around with a jigsaw or a keyhole saw for a clean, square cut. Go slow and keep the blade inside your pencil line. You can always shave a hair more off, but it's hard to put wood back.
If your coop is like ours and the pop hole was already cut for a smaller opening, you don't have to hack out the whole wall. Just widen the existing hole to match the template. The one thing you want is a straight, square opening so the door frame seats flush. A warped or oversized cut is where drafts, rain, and would-be predators sneak in later, so take the extra minute to get it square. Sand any rough edges so nothing snags the door's track.
This is also the moment to screw in the aluminum threshold plate that sits under the door and seals the bottom edge. I added a solid aluminum plate under my track even though the door comes with one, because a determined raccoon will work at the wood around an old pop hole frame. A clean metal threshold makes that job a lot harder and keeps the seal tight year after year.
Step 3: Mount the Track and Slide the Door In
With the opening cut, screw the door track into the frame, using the template's pilot marks. Set a level on it as you go and keep it plumb, because a crooked track is the number one cause of a door that binds or stalls halfway. Then set the door plate into the top of the track and let it rest. Before you drive the last screws home, run the door up and down by hand to make sure it travels the full length of the track without catching.
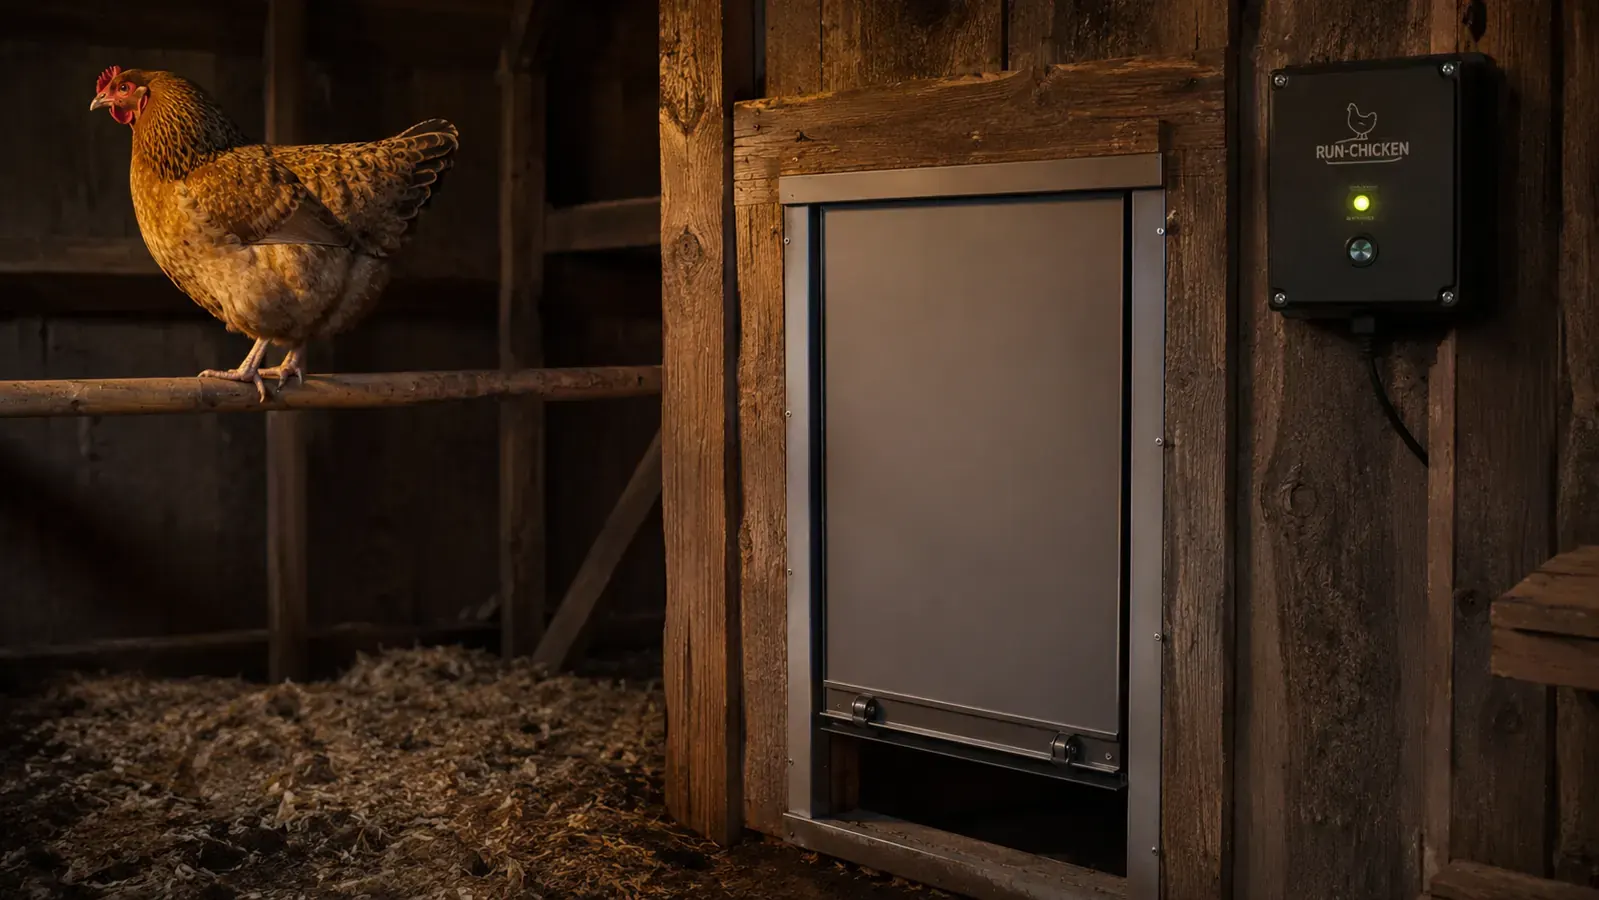
Once the travel feels clean, attach the control box to the wall in the spot you picked in step one, the one with a view of daylight. Run the little drive cord from the control box to the door's motor so it's neat and out of the way of the sliding plate. I zip-tied my cord along the wall so the hens couldn't peck at it and nothing could snag it. Then mount the box and screw the faceplate over the screws so the whole thing looks tidy and, more importantly, stays sealed against weather.
Do not skip the manual's note about how the door is oriented from the factory. If yours arrives set for the opposite side, it will try to open straight into the frame and bind. Mine was straightforward, but I know more than one person who mounted it before reading that page and spent an afternoon wondering why it kept jamming. Set the orientation first, then test.
Step 4: Wire the Power and Set the Battery
The RUN-CHICKEN T50 runs on a rechargeable pack that you charge by plugging the control unit into a wall outlet through the short cord that runs inside the coop. I ran the plug to a weatherproof outlet I already had in the coop for the heater, so charging is just unplugging the pack and plugging it back in every couple of months. If your coop has no power at all, the unit also takes standard AA batteries, which makes the whole thing fully portable.
Here's the honest part about batteries: the rechargeable pack gave me about two and a half to three months between charges in good weather, and a little less in deep winter because the cold works against lithium. My rechargeable pack lasts roughly two and a half to three months before it needs a charge. That's realistic for this door, and you should plan your routine around it. When the low-battery light comes on, charge the pack then, not someday. One night of a weak pack closing slowly taught me that lesson.
Step 5: Program the Open and Close Times
Now the part that makes it automatic: programming. The T50 gives you two ways to set when the door moves, and you pick one. The first is a fixed timer, where you punch in a specific open time and close time. That's dead simple, but sunrise and sunset drift by a couple of hours across a Missouri year, so a September timer will be closing way too late by December unless you keep adjusting it.
The second, and the one I chose, is light-sensor mode. You set it once and it reads ambient daylight to open at dawn and close at dusk as the seasons shift on their own. That is the set-and-forget option, and it's the whole reason I went automatic. The buttons on the control box walk you through it, and the manual's chart tells you which light level to pick so the hens aren't out too early or sealed in too late. I nudged mine to a slightly later close so a heavy afternoon doesn't shut them out of the run.
Test the door a few times by hand and through one full automatic cycle, opening and closing it with the buttons before you trust it overnight. Watch the direction of travel, the clearance at the bottom, and whether the plate seals flush. Once it does a couple of clean cycles and you've confirmed the low-battery and test lights read right, you're done. Walk away, and let it take over the job you used to do by hand.
What Else Helps
A coat of the same exterior wood sealant you use on the coop along the cut edge of the new opening keeps moisture from wicking into raw plywood, and it's five minutes of work while you're already out there. Keep the track clean, because built-up shavings and grit will eventually make any door bind. I wipe the track about once a month and wipe the sensor window dry before a storm, because a layer of blowing snow or ice over the sensor will confuse the light reading.
And remember the door only closes the opening, it doesn't predator-proof the whole coop. Reinforce the wood around the pop hole, keep the run mesh in good repair, and make sure nothing can pry at the frame corners. An automatic door removes the biggest failure, the one where you forget to close it, so don't let a loose board next to it undo all that good work.
Give the door a week before you trust it completely. The first few days I still found myself walking out at dusk out of pure habit, hand reaching for the pop hole before my brain caught up that it was already shut. That's the adjustment everyone goes through, and it's the good kind. Watch how it behaves through one full rainy stretch and one cold snap before you stop checking. And when the light-sensor closes a little early on a heavy, dark afternoon, that's not a defect, it's a door erring on the side of having the flock safe inside. I'd rather open it back up than find a predator's paw print on the shavings at dawn.
A clean, square opening and a level track are the whole secret. Mount it straight, give the sensor a view of daylight, and the door runs for months on one charge with nothing more from you.
Finish the Afternoon With a Door That Closes Itself
Once it's cut, mounted, wired, and programmed, the RUN-CHICKEN T50 takes over the dusk coop walk completely. I've run mine every single day for a year, and this is the door I'd hand anyone who wants a clean install the first time.
Amazon Check Today's Price on Amazon →